For my Infocomn Teacher and Classamates
-Introduction-
Despite the title for this post, anyone can read it!
Well, here are the steps to make pictures prior to my post. I assure you that only Inkscape is needed.
-Part 1- Stuff Required
You need: Windows XP (Crack, Keygen, Torrent, Original... )
A Computer that works fairly well
Inkscape's latest version
Plus some Ramen and Water... hehe
Some basic knowledge on Inkscape
-Part 2- Starting Out!
First, open up a new Inkscape document.
Then, start with placing a shape or word of your choice in Inkscape..
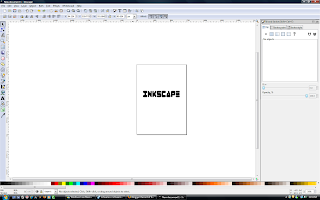 By the way, click on the image to enlarge it. As in click the image above in my blog post...
-Part 3- Applying another layer...
Alright, so the picture you have there... It's boring right?
To make it glow, follow the next few steps closely... or else!
Using the fill paint bucket tool, fill the picture one by one with a colour you like...
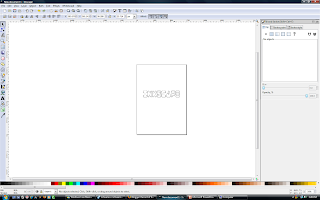 It should look like that... You should be able to see the black out line.
Note that if there is an "i", You have to paint the "." and "l" one by one.
Zoom in if it is too small...
-Step 4- Applying the Glow!
Now, remove the layer of paint on top...
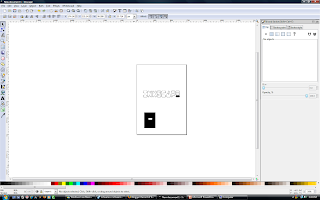 Notice the black box? You should place anything that is white in that box so that you'll remember it...
Note that the black box has to be placed there before you drag one of the white overlay to the box... Oh and also, Make sure that the white overlay is on top of the black box.
(Don't drag and select as you WILL select the white overlay too, ruining your work)
Next, select the black portion of the image (not the box).
You will notice that you would have selected the rest of the image...
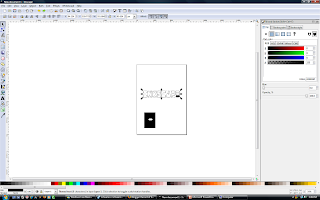 Like the picture above.
Next, click on the yellow arrow on the tool bar at the top. It's facing the left.
That is the "back" button that allows you to reverse changes.
Do not click any where else prior to clicking the back.
After clicking that, the white overlay would return to where it was while you're still selected on the black picture you selected earlier.
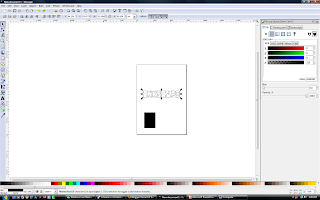
Then, set the blur... It depends on the image.
(Don't click anything other then the paint brush at the top, which should display the toolbar to the right of the picture shown above)
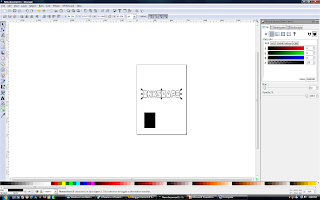 Then you're done! This the end of the tutorial made by yours sincerely... SouthernRiprey!


0 Comments:
Post a Comment
Subscribe to Post Comments [Atom]
<< Home